The Simple, Safe Way to Restore Grout Brightness Using Baking Soda and Hydrogen Peroxide
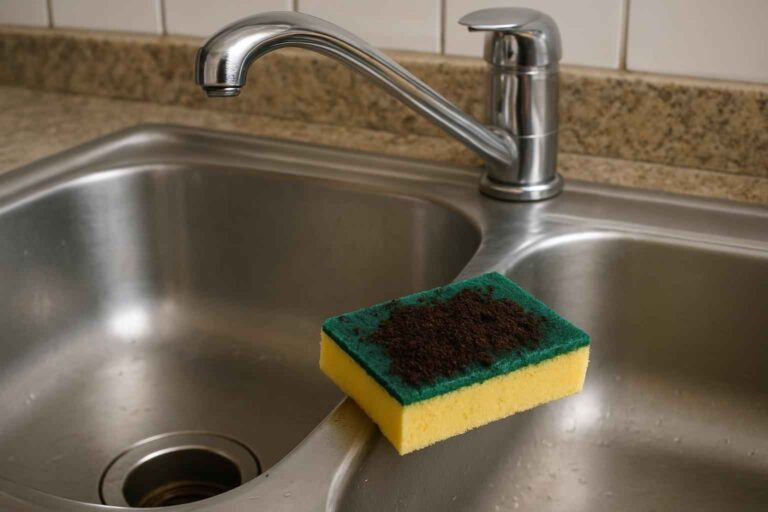
Grout that has gone dull or dark from soap scum, hard water, and mildew is one of those everyday eyesores that makes a clean tile surface look tired. Because grout is porous and sits between delicate tiles, aggressive chemicals or heavy abrasion can fade color, erode the mortar, or irritate skin and lungs—so this task calls for a careful, low-risk approach that still gets noticeable results.
In this piece you’ll learn a simple method using baking soda and hydrogen peroxide to lift stains without harsh solvents: how to mix the paste, where and how to apply it, the right scrubbing technique, rinsing and drying tips, and basic safety steps like using gloves and good ventilation. The goal is a practical, safe routine that restores brightness while protecting your grout and your health.
Key Points
- Mix baking soda and hydrogen peroxide in a 3:1 ratio to create a gentle, effective Cleaning paste suitable for most grout types.
- Apply and scrub the paste gently with a soft brush in small sections to avoid damage and ensure even cleaning.
- Rinse thoroughly, dry completely, and use gloves and ventilation to maintain safety during the cleaning process.
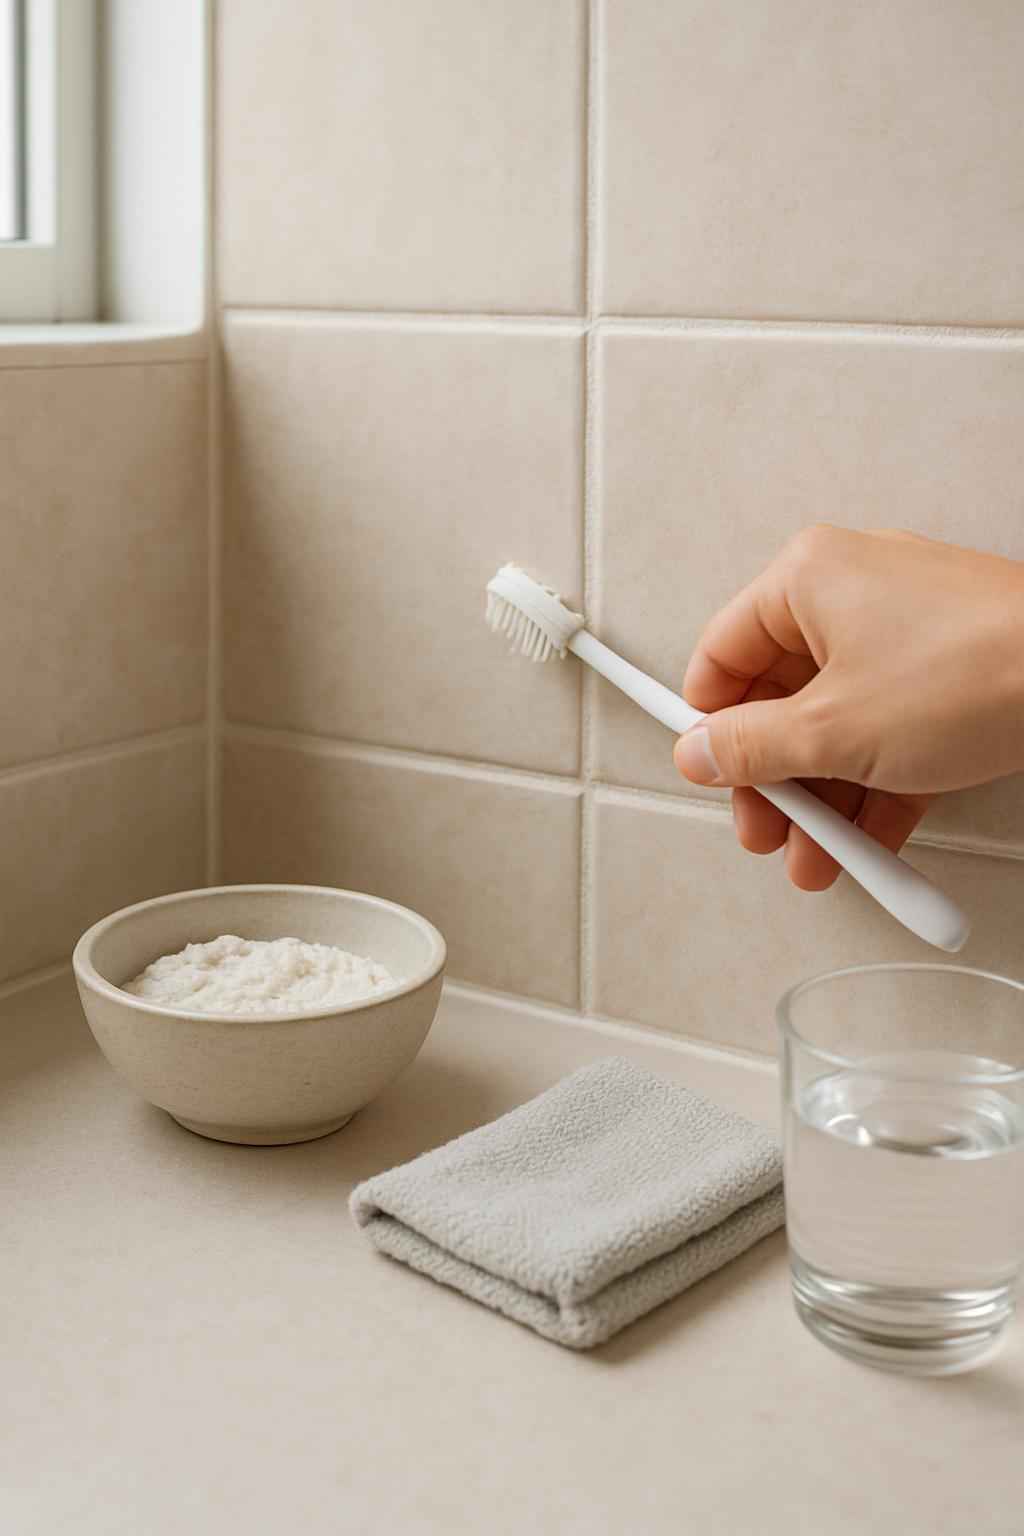
Make the cleaning paste
Measure about three parts baking soda to one part hydrogen peroxide and stir into a smooth, spreadable paste in a small bowl. This combination creates a mild abrasive plus an oxidizer that lifts stains without harsh solvents, and you should avoid using it full strength on natural stone or colored grout to prevent lightening.
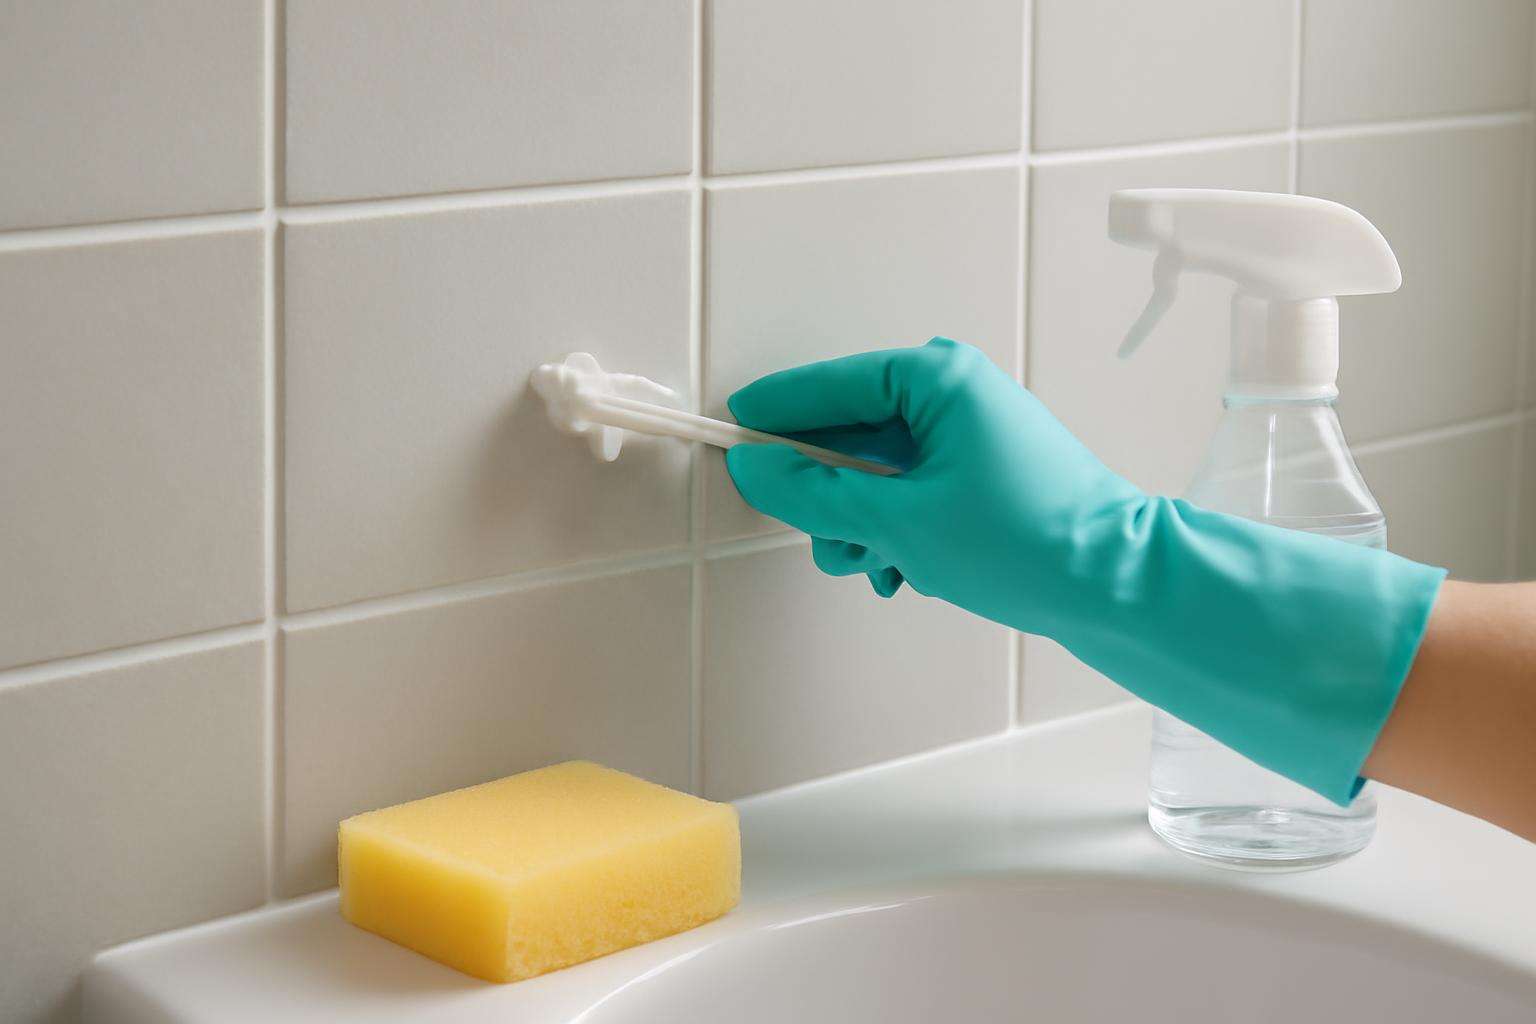
Apply the paste to grout lines
Use a small spoon, putty knife, or an old toothbrush to press the paste into grout lines and coat the stained areas in manageable sections. Working in sections keeps the paste from drying out unevenly and helps you avoid leaving peroxide on sensitive surfaces for too long.
Scrub gently and evenly
After a short dwell time, scrub the paste with a soft-bristled toothbrush or a dedicated grout brush using short back-and-forth motions rather than aggressive scraping. Gentle abrasion is enough to dislodge grime while preventing erosion of grout joints or scratches to surrounding tile, so never use wire brushes or harsh scrubbing pads.
Rinse thoroughly and protect results
Wipe away residue with warm water and a microfiber cloth, repeating until the rinse water runs clear, then dry the area to inhibit mildew regrowth. Once fully dry, consider applying a grout sealer to lock in the brightness and reduce the frequency of intensive cleaning.
Basic safety and care
Wear gloves and ensure good ventilation while mixing and applying the paste to minimize skin contact and inhalation of fumes. Avoid mixing hydrogen peroxide with household ammonia or bleach, and always test the paste on an inconspicuous spot before treating the entire area.

Keeping grout bright is less about one big overhaul and more about a safe, consistent approach built into everyday home care—small, practical habits preserve the look and integrity of tile and grout so your Kitchen and Bathroom feel clean and comfortable without fuss.